Understanding Integrated Cooker Hoods
What is an Integrated Cooker Hood?
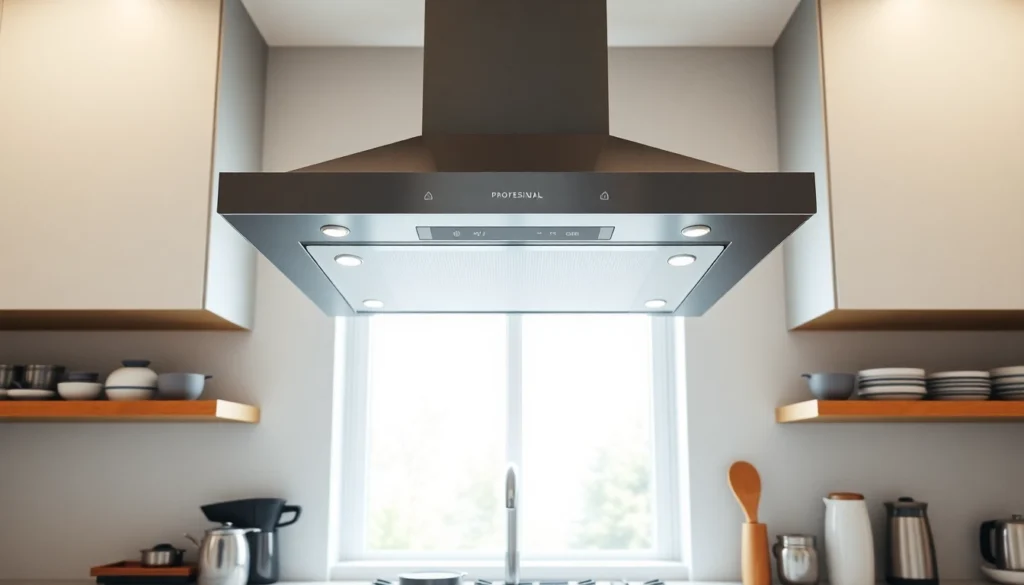
Integrated cooker hoods, also known as built-in hoods, are kitchen ventilation systems designed to fit seamlessly within your kitchen cabinetry. Unlike traditional range hoods that are prominently mounted above your cooking area, integrated hoods are concealed, ensuring that your kitchen maintains a sleek, streamlined appearance. This design not only enhances the aesthetic appeal of the kitchen but also maximizes space by utilizing areas that would typically remain unused.
These hoods come in various styles and can include features like a telescopic design or slide-out configurations, providing flexibility based on kitchen layout. For homeowners looking to blend functionality with modern design, an integrated cooker hood offers an elegant solution for maintaining air quality while cooking.
How Integrated Cooker Hoods Work
Integrated cooker hoods operate by extracting smoke, steam, and cooking odors from the kitchen air. These hoods are equipped with powerful fans that draw air through filters—either to recirculate back into the kitchen or to vent it outside. There are two primary types of integrated cooker hoods: ducted and recirculating.
- Ducted Systems: These systems connect to an external vent, allowing air to be expelled outside the home. This setup typically offers better odor and particle removal and is ideal for serious cooks.
- Recirculating Systems: These hoods filter the air through charcoal and grease filters before circulating it back into the kitchen. They are easier to install but may not perform as effectively in terms of removing odors.
The choice between these systems will depend on your kitchen setup and local regulations regarding ventilation.
Benefits of Using Integrated Cookers
Integrated cooker hoods provide several important advantages:
- Space Efficiency: By being built into the cabinetry, these hoods help to maximize kitchen space, making them perfect for smaller kitchens or open-plan living areas.
- Minimalistic Design: An integrated cooker hood contributes to a modern, clean look in your kitchen, preventing the need for bulky appliances that can disrupt your design.
- Enhanced Air Quality: These hoods effectively remove smoke, steam, and cooking odors, improving the overall air quality in your home.
- Customizable Features: Many integrated hoods come with adjustable fan speeds, lighting options, and advanced filters, allowing for a personalized cooking experience.
Key Features to Look for in Integrated Cooker Hoods
Extraction Performance and Efficiency
One of the most crucial aspects of an integrated cooker hood is its extraction performance. Measured in cubic meters per hour (m3/h), a good extraction rate is vital for efficiently removing heat, smoke, and odors. Seek models with a higher extraction rate for effective ventilation, particularly if you frequently cook with strong-smelling ingredients or high heat.
Energy efficiency is another critical factor. Many modern integrated cooker hoods come with energy ratings, allowing you to choose models that consume less energy while delivering optimal performance. Look for hoods with A+ or A++ ratings for the best efficiency.
Design Aesthetics and Space Considerations
The right integrated cooker hood should harmonize with your kitchen’s overall design. Consider the color, material, and finish of the hood to ensure it complements your cabinetry and appliances. Stainless steel and black finishes are popular choices for modern kitchens, while traditional wood finishes can enhance classic spaces.
Space considerations are also essential. Measure the available area where the integrated hood will be installed to ensure a perfect fit. This will help to avoid installation issues and ensure optimal performance.
Noise Levels and User-Friendliness
No one enjoys a noisy kitchen appliance. Check the decibel (dB) rating of the hood; quieter models tend to operate at around 45-60 dB, providing effective ventilation without excessive noise. Models equipped with noise-reducing technology can further enhance comfort while cooking.
User-friendliness is vital; look for hoods that offer simple controls. Touch controls and remote control functions can simplify operation, making it easier to adjust settings while cooking.
Comparing Integrated Cooker Hoods with Other Types
Integrated vs. Wall-Mounted Cooker Hoods
When comparing integrated cooker hoods to wall-mounted options, several factors come into play. Wall-mounted hoods are often more powerful and easier to access for maintenance and cleaning. They are a great option for larger kitchens or those who prioritize extraction performance above all.
However, wall-mounted hoods may obstruct sightlines and can feel bulky in smaller spaces. Integrated hoods, on the other hand, allow for a more cohesive kitchen design and help maintain a clean, uninterrupted view of the cooking area.
Advantages Over Under-Cabinet Models
Under-cabinet cooker hoods are common but can interrupt the flow of kitchen design as they are visibly mounted to cabinets. Integrated cooker hoods, hidden within cabinetry, prevent this disruption and provide a cleaner appearance. They also tend to utilize space more efficiently, especially in modern, open-plan kitchens where aesthetics are key.
Moreover, integrated models can be less obtrusive and offer various features that allow for a more custom fit to your kitchen design.
Installation Comparisons and Accessibility
Installation methods vary significantly between integrated and other types of hoods. Integrated cooker hoods often require careful planning and installation within existing cabinetry. Homeowners may need to enlist professional help for ducting and electrical work, particularly for ducted systems.
On the other hand, wall-mounted and under-cabinet hoods typically offer easier installation, making them a good choice for DIY enthusiasts. However, integrated hoods offer a more tailored fit for those willing to invest in a cohesive kitchen design.
How to Install an Integrated Cooker Hood
Preparation and Tools Needed
Installing an integrated cooker hood requires careful planning and the right tools to ensure a successful installation. Prior to installation, gather these tools:
- Measuring tape
- Drill and drill bits
- Screwdriver
- Level
- Safety goggles
- Hood installation kit (if needed)
Next, measure the space to ensure the hood fits properly within your cabinetry. Familiarize yourself with the manufacturer’s instructions, which provide specifics on installation requirements.
Step-by-Step Installation Guide
- Turn Off Power: Always ensure the power supply to the kitchen is turned off before beginning any electrical installations.
- Position the Hood: Align the hood with its mounting bracket according to your measurements. Use a level to ensure it is straight.
- Secure the Hood: Fix the hood into place by attaching it to the cabinet or wall using screws. Ensure it is secure to prevent movement or vibrations.
- Connect Ducting (if applicable): If you are using a ducted system, connect the ducting to the exhaust outlet, sealing connections to prevent leaks.
- Connect the Power Supply: Follow electrical wiring diagrams provided in the manufacturer’s instructions to connect the hood to the power supply.
- Test the System: Once installed, turn the power back on and test the hood for functionality, checking all settings and speeds.
Common Mistakes to Avoid
One of the most common mistakes during installation is failing to secure the hood properly, which can lead to operational issues or safety hazards. Always double-check that all screws and fasteners are tightly secured.
Additionally, neglecting to measure the installation space adequately may result in an ill-fitting product. Take your time to obtain precise measurements before proceeding. Finally, ensure the power supply connections are made according to code to avoid any electrical issues.
Maintenance Tips for Long-Lasting Performance
Regular Cleaning and Care
To maintain the longevity and performance of your integrated cooker hood, regular cleaning is essential. Begin by unplugging the unit or turning off the power supply, then clean the exterior with warm soapy water and a soft cloth. Avoid abrasive cleaners that can scratch the surface.
The grease filter should also be cleaned periodically, typically every month or two, depending on usage. Most filters can be removed and washed in hot, soapy water or placed in a dishwasher for convenience.
Replacing Filters and Components
Filters in integrated cooker hoods need to be replaced periodically for optimal performance. Charcoal filters are often vital for recirculating systems and should be changed every 3 to 6 months, depending on usage. Consult the manufacturer’s guidelines for specific recommendations on replacement schedules.
Troubleshooting Common Issues
If your integrated cooker hood isn’t functioning correctly, consider the following troubleshooting steps:
- Noise issues: If your hood is excessively noisy, check for loose screws or mounting hardware.
- Poor airflow: This could indicate a clogged filter that needs cleaning or replacement, or it might suggest that the ducting is obstructed.
- Light malfunction: If the lights are not working, check the bulb and wiring connections.
For more complex issues, consult a professional technician to perform maintenance or repairs.